Initial Configuration
info
This page assume that you have already completed the download.
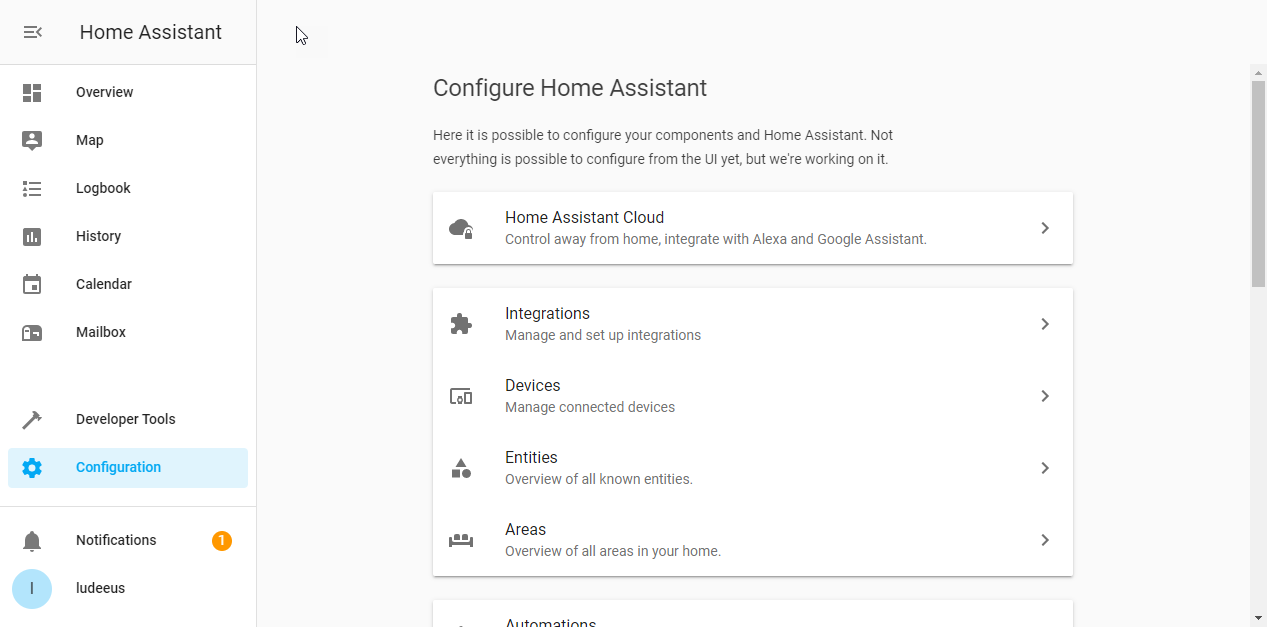
In your Home Assistant UI go to "Configuration", then click "Integrations"
Clear your browser cache
Before HACS can show up in the list you need to clear your browser cache or perform hard-refresh.
warning
You actually need to do this, don't skip it.
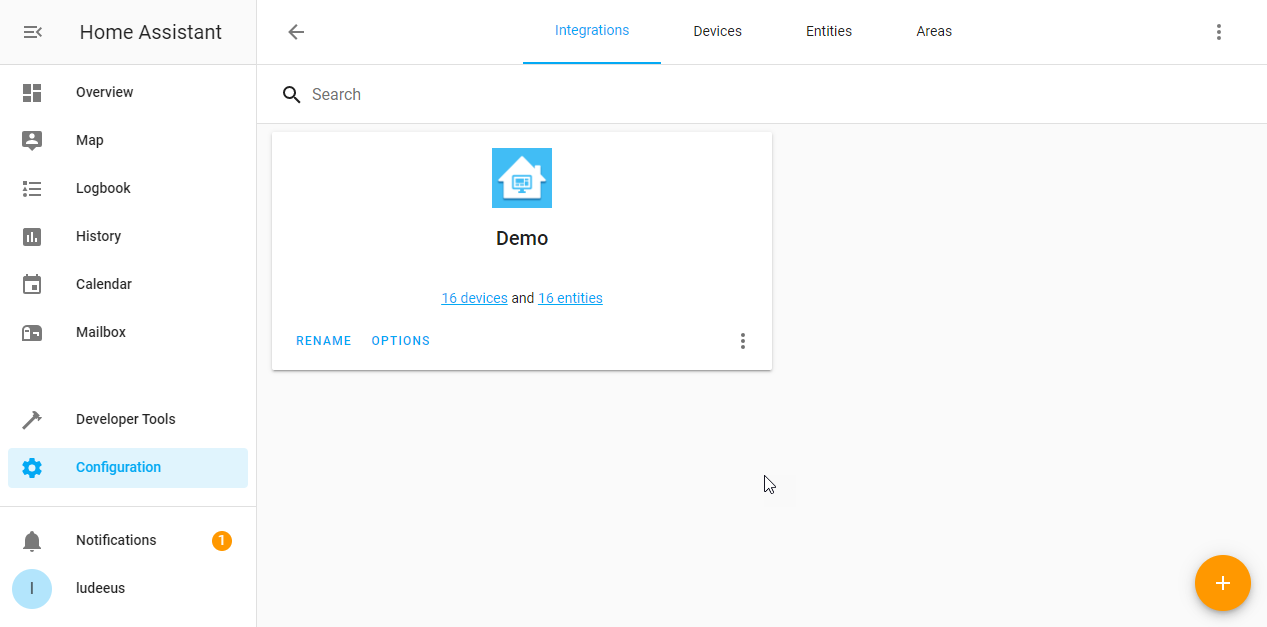
Click the "+" button in the bottom right corner
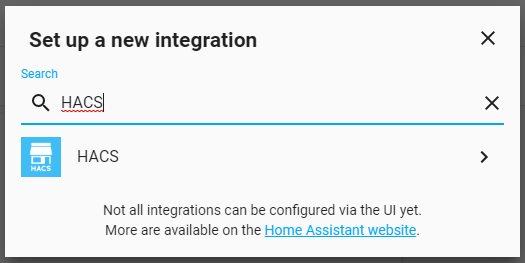
Search for or scroll down to find "HACS" and select it
Accept usage
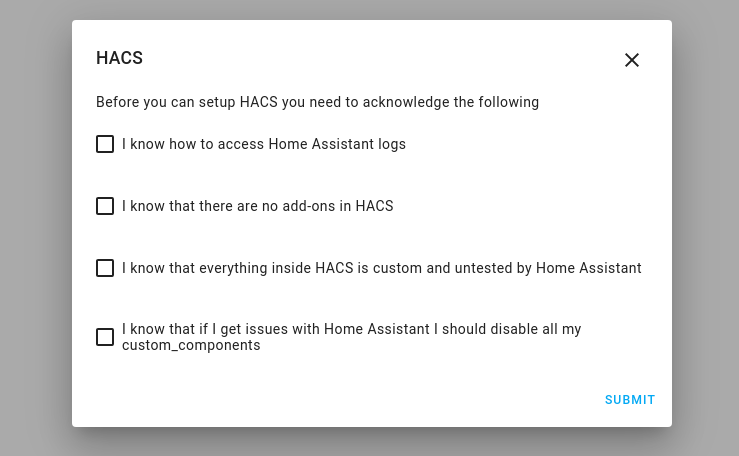
None of the items are optional, you need to accept everything before you can setup HACS.
Device registration
HACS uses a device OAuth flow for authentication against the GitHub API.
If you do not want that, you can use a Personal Access Token if you configure HACS with YAML.
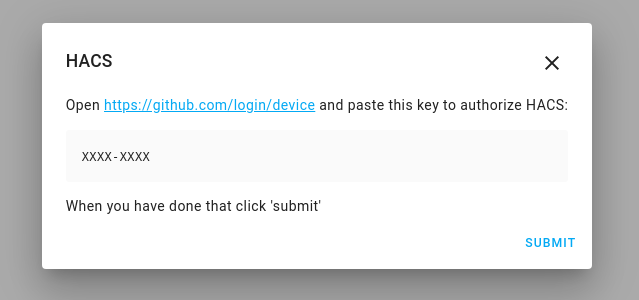
On the first screen you are presented with a device code, copy that to your clipboard and click on the https://github.com/login/device link to continue the setup.
Do not click on submit yet!
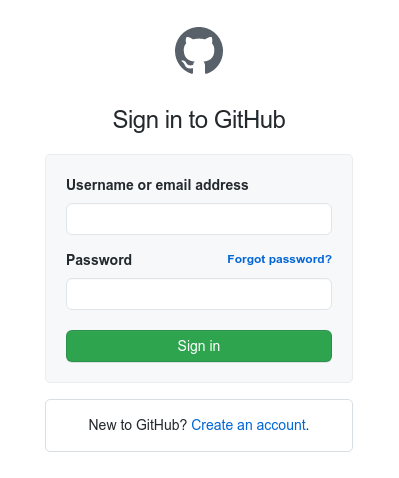
If you are not signed in to GitHub in your browser you need to signup or signin now to continue the setup, if you are already signed in, you can skip this part.
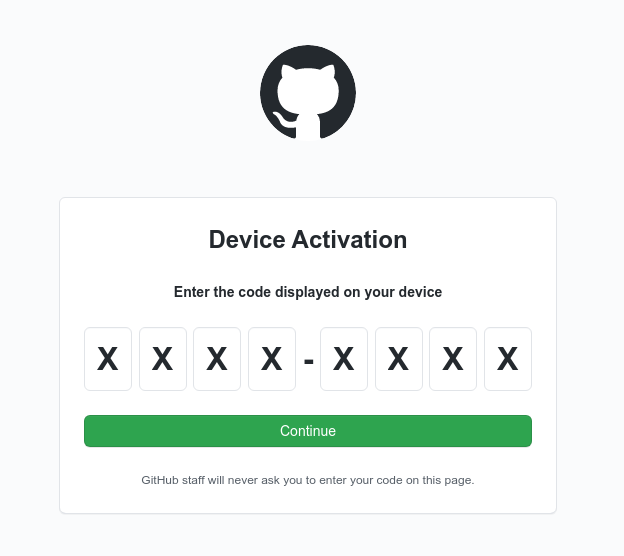
When that page is loaded up, paste or type in your device code that was presented to you in the previous step.
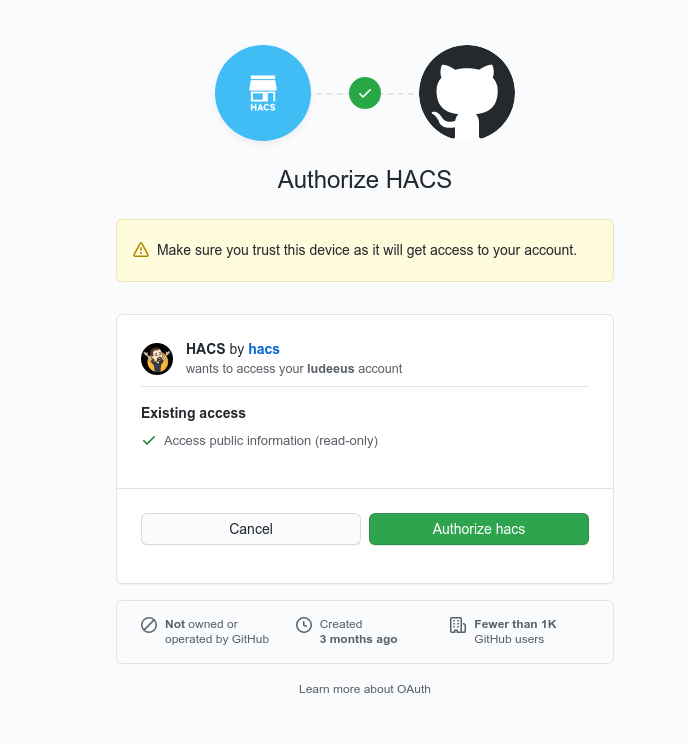
Here you click on "Authorize hacs".
Once you see the confirmation screen, you can close the tab and go back to Home Assistant.
Now you can click "Submit" to complete the configuration of HACS.

If something failed, you will be taken back to the Add your configuration step.
Changing the configuration
If you need to change the configuration, you first need to delete the integration from the integrations list, then you need to add it back again.